

Webflow is one of the most powerful no/low-code website builders available, loved by web designers and non-designers alike. It gives you the tools to build everything you'd expect to find on a website, including forms.
While you can create a completely customized SEO-friendly website with Webflow, it only provides basic form functionality. You must opt for a third-party form service for features like multiple steps, conditional logic branches, and custom validation.
Feathery is a low-code form builder that makes it easy for anybody to build and embed powerful form elements.
Let's closely examine how Webflow's form feature works and its pros and cons. We'll also look at form builders you can use to create Webflow forms and how to embed a Feathery form into your Webflow site.
Understanding Webflow's built-in form feature
The built-in form block feature in Webflow is a convenient tool for creating basic online forms. It's integrated directly into the Webflow platform, meaning you don't need any additional tools to start building. It provides a few input field options and email address field validation.
You can style your Webflow forms with the custom CSS features available in the Designer. Adding custom attributes will ensure your form is on-brand. You can also change the state of the form within the Designer to edit the form completion and error messages.
Webflow form submissions are sent via email notifications where you can capture them into Google Sheets or another chosen database platform. You can also look into using an email marketing automation tool like Mailchimp to populate form submissions into your mailing list or CRM.
Here are some of the pros and cons of Webflow forms:
Pros
- Integration: Being a built-in feature, Webflow forms are fully integrated with Webflow's platform, ensuring a seamless design and management process.
- Ease of use: Webflow's drag-and-drop interface makes form creation straightforward, even for beginners.
- Design flexibility: Webflow forms can be customized to match your website's aesthetic.
Cons
- Limited functionality: Webflow forms are best suited for basic forms. If you need advanced features such as multi-step forms, conditional branches, or custom validation, you might find Webflow forms lacking.
- Limited third-party integrations: While Webflow forms offer some integrations, they may not cover all your tools.
Webflow's form builder is an excellent tool for straightforward form needs. However, its limitations might prompt you to seek alternatives if you require more advanced features.
Alternatives to Webflow's form builder
Several form builders on the market can be embedded into a Webflow site. Here are a few options:
Feathery
Our low-code form builder is easy to use and offers robust features. Feathery supports advanced form features like multi-step forms, conditional branches, and custom validation.
Feathery also provides seamless integration with third-party tools like HubSpot and Mailchimp, which can be invaluable for managing and automating responses and handling data more efficiently. Another major advantage of Feathery is its compatibility with Webflow.
Feathery forms can be easily customized and embedded into your Webflow site, ensuring a consistent look and feel.
Typeform
Typeform is a versatile online form and survey builder that is known for its unique, conversational design. The platform's focus on engaging the user makes it a good choice if you’re looking to create a user-friendly form experience. It can also be integrated with various platforms such as Hubspot, Zapier, and Google Analytics.
However, one of its limitations is that it might require more effort to seamlessly integrate Typeform forms into your Webflow site compared to Feathery.
Jotform
Jotform offers various templates and form types, from basic contact forms to payment forms.
Jotform is a comprehensive online form builder well-suited for both businesses and individuals. It offers a wide variety of templates and form types, including contact forms, order forms, event registrations, and surveys.
Additionally, Jotform stands out with advanced features such as payment processing and file uploads.
Like Typeform, Jotform also supports a wide range of integrations, but embedding a Jotform into your Webflow site might require additional steps.
Formstack
Formstack offers robust form-building features and supports complex workflows. It offers the ability to build forms with conditional logic, perform calculations, and automate processes.
But its advanced features are more than what's needed for simple form-building tasks.
Formstack’s interface may also be more complicated to navigate for beginners compared to other form builders.
Mailchimp
Primarily known as an email marketing platform, Mailchimp also includes a basic form builder. It's a good option if you want to collect email addresses and other subscriber data.
The forms created in Mailchimp can be customized to match your branding, and you can choose which fields to include based on what information you want to collect.
Mailchimp forms can be embedded on your website or shared as a link.
Its form-building features might not be as robust as those of dedicated form builders like Feathery, Typeform, Jotform, or Formstack.
As with any other software, your choice of form builder depends on your specific needs. Feathery stands out as an excellent choice if you're looking for a tool that offers advanced form-building features but is user-friendly and easy to integrate with Webflow.
A quick start with Feathery
Step 1: Create a Feathery form
If you don't have a Feathery account yet, you can create an account.
After that, all you need is a form. You can create one yourself or start with a pre-built template.
To create a form, go to the Forms tab and click Create Form. Name your form in the pop-up, and click Create.

Step 2: Customize your form
Now you should see the first step of your form. Click the step to open the visual editor.
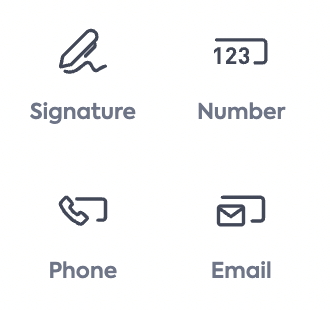
You'll see all the available form elements in the menu on the left-hand side.
Feathery uses drag-and-drop components, just like Webflow.
You can add various elements like buttons, text, and form fields based on your needs.
You can explore the customization options and adjust your form settings at any point.
Step 3: Publish
Be sure to hit the Publish button in the top right-hand corner of the screen when you’re done. Then, go back to the dashboard with the button in the top left corner.

Step 4: Get the form embed code
Now that your form's ready, it’s time to get the embed code.
Click the dropdown arrow next to the Publish button, and click the Javascript link under the embed section. This will copy the embed code of the live form to your clipboard.
How to preview your form
To embed a preview version of your form, switch out the live SDK key in the embed code for your test key, which can be found in your form settings.
Click the gear icon in the bottom left-hand side of the dashboard menu.
Feathery's test key enables preview mode, meaning you can test and freely navigate your form without restrictions. The live SDK key will show your embedded form as a finished product.
If you want to learn more, you can get more info from Feathery’s Javascript docs.
Embedding your Webflow form
After copying your form embed code, head over to your Webflow project and open up the Webflow Designer.
Select the page where you want to add your form and follow the steps below.
Step 1: Add an embed element
Drag and drop an Embed element to your page where you want the form to appear.
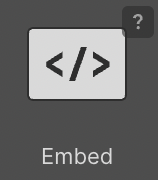
The code editor will pop up.
Step 2: Paste your embed code
Paste your embed code snippet into the Editor box. You'll see a few lines of code that looks like the below:
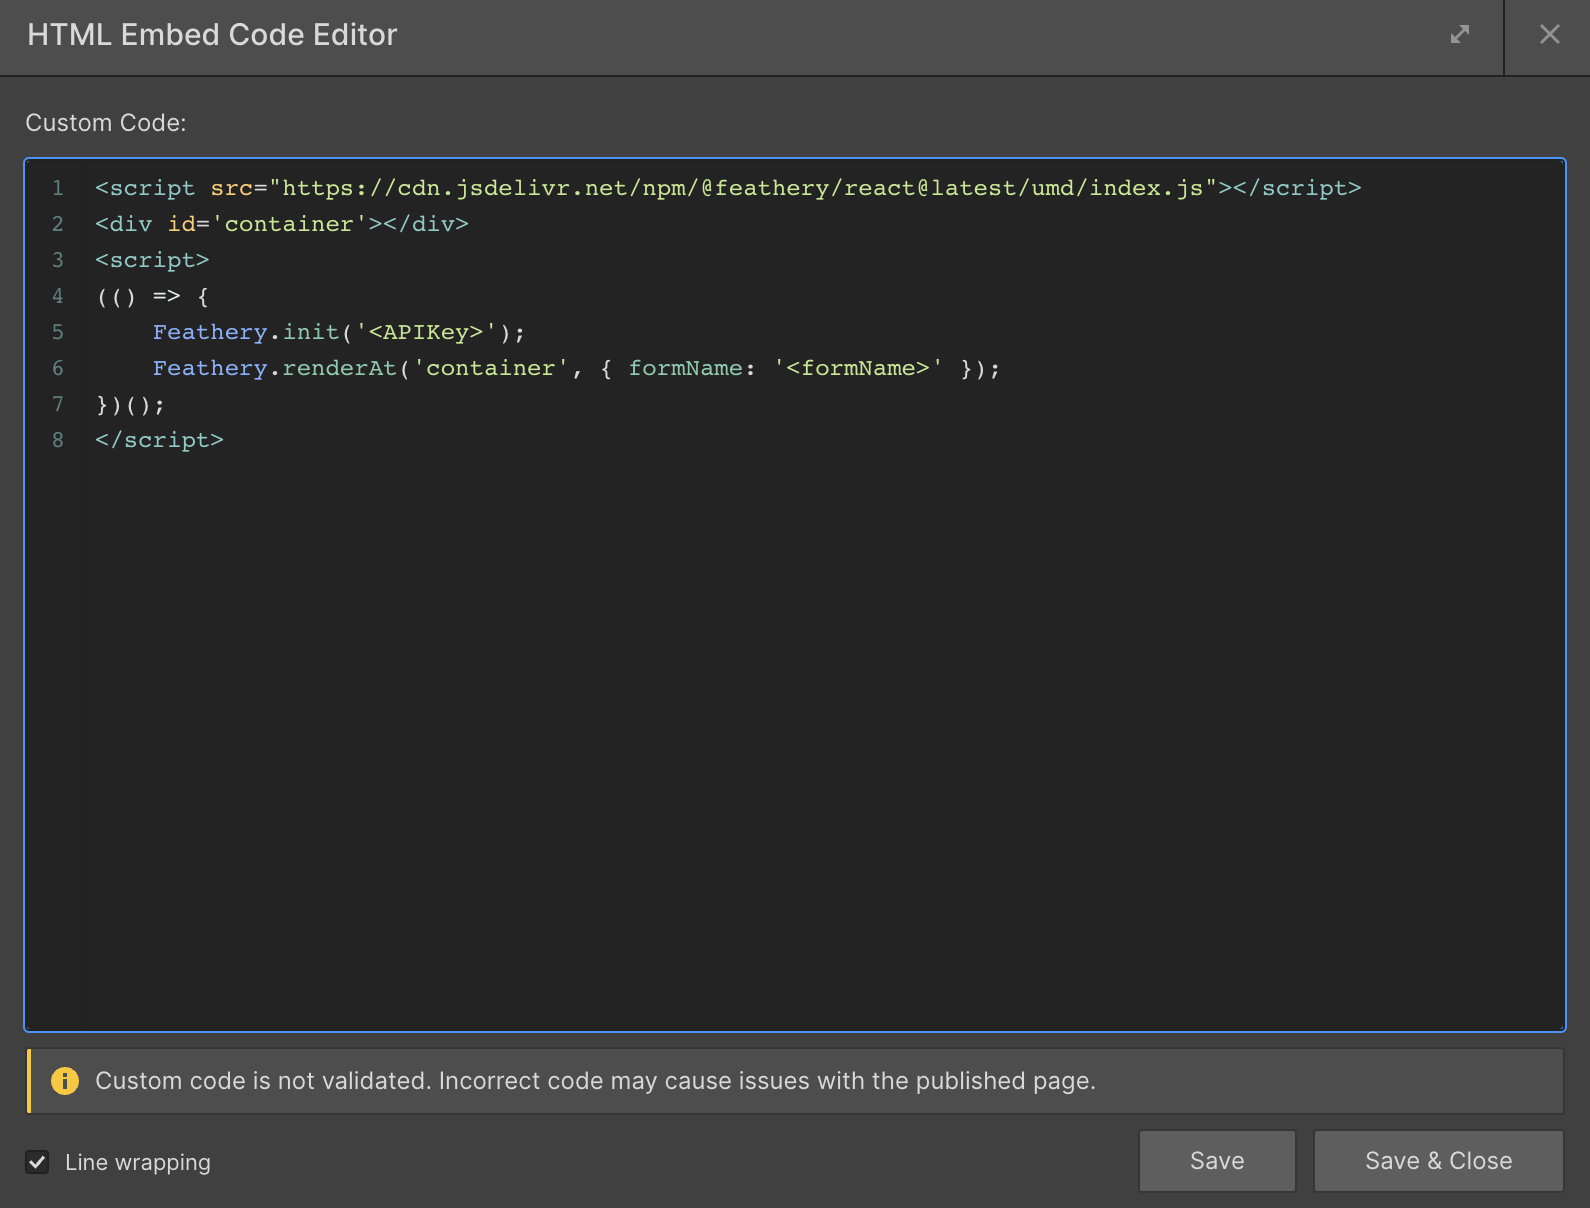
Now you can click the Save & Close button in the editor.
Step 3: Publish and view
Before you can see the embed, you’ll need to publish and preview your page.
You should now see your form on your page.
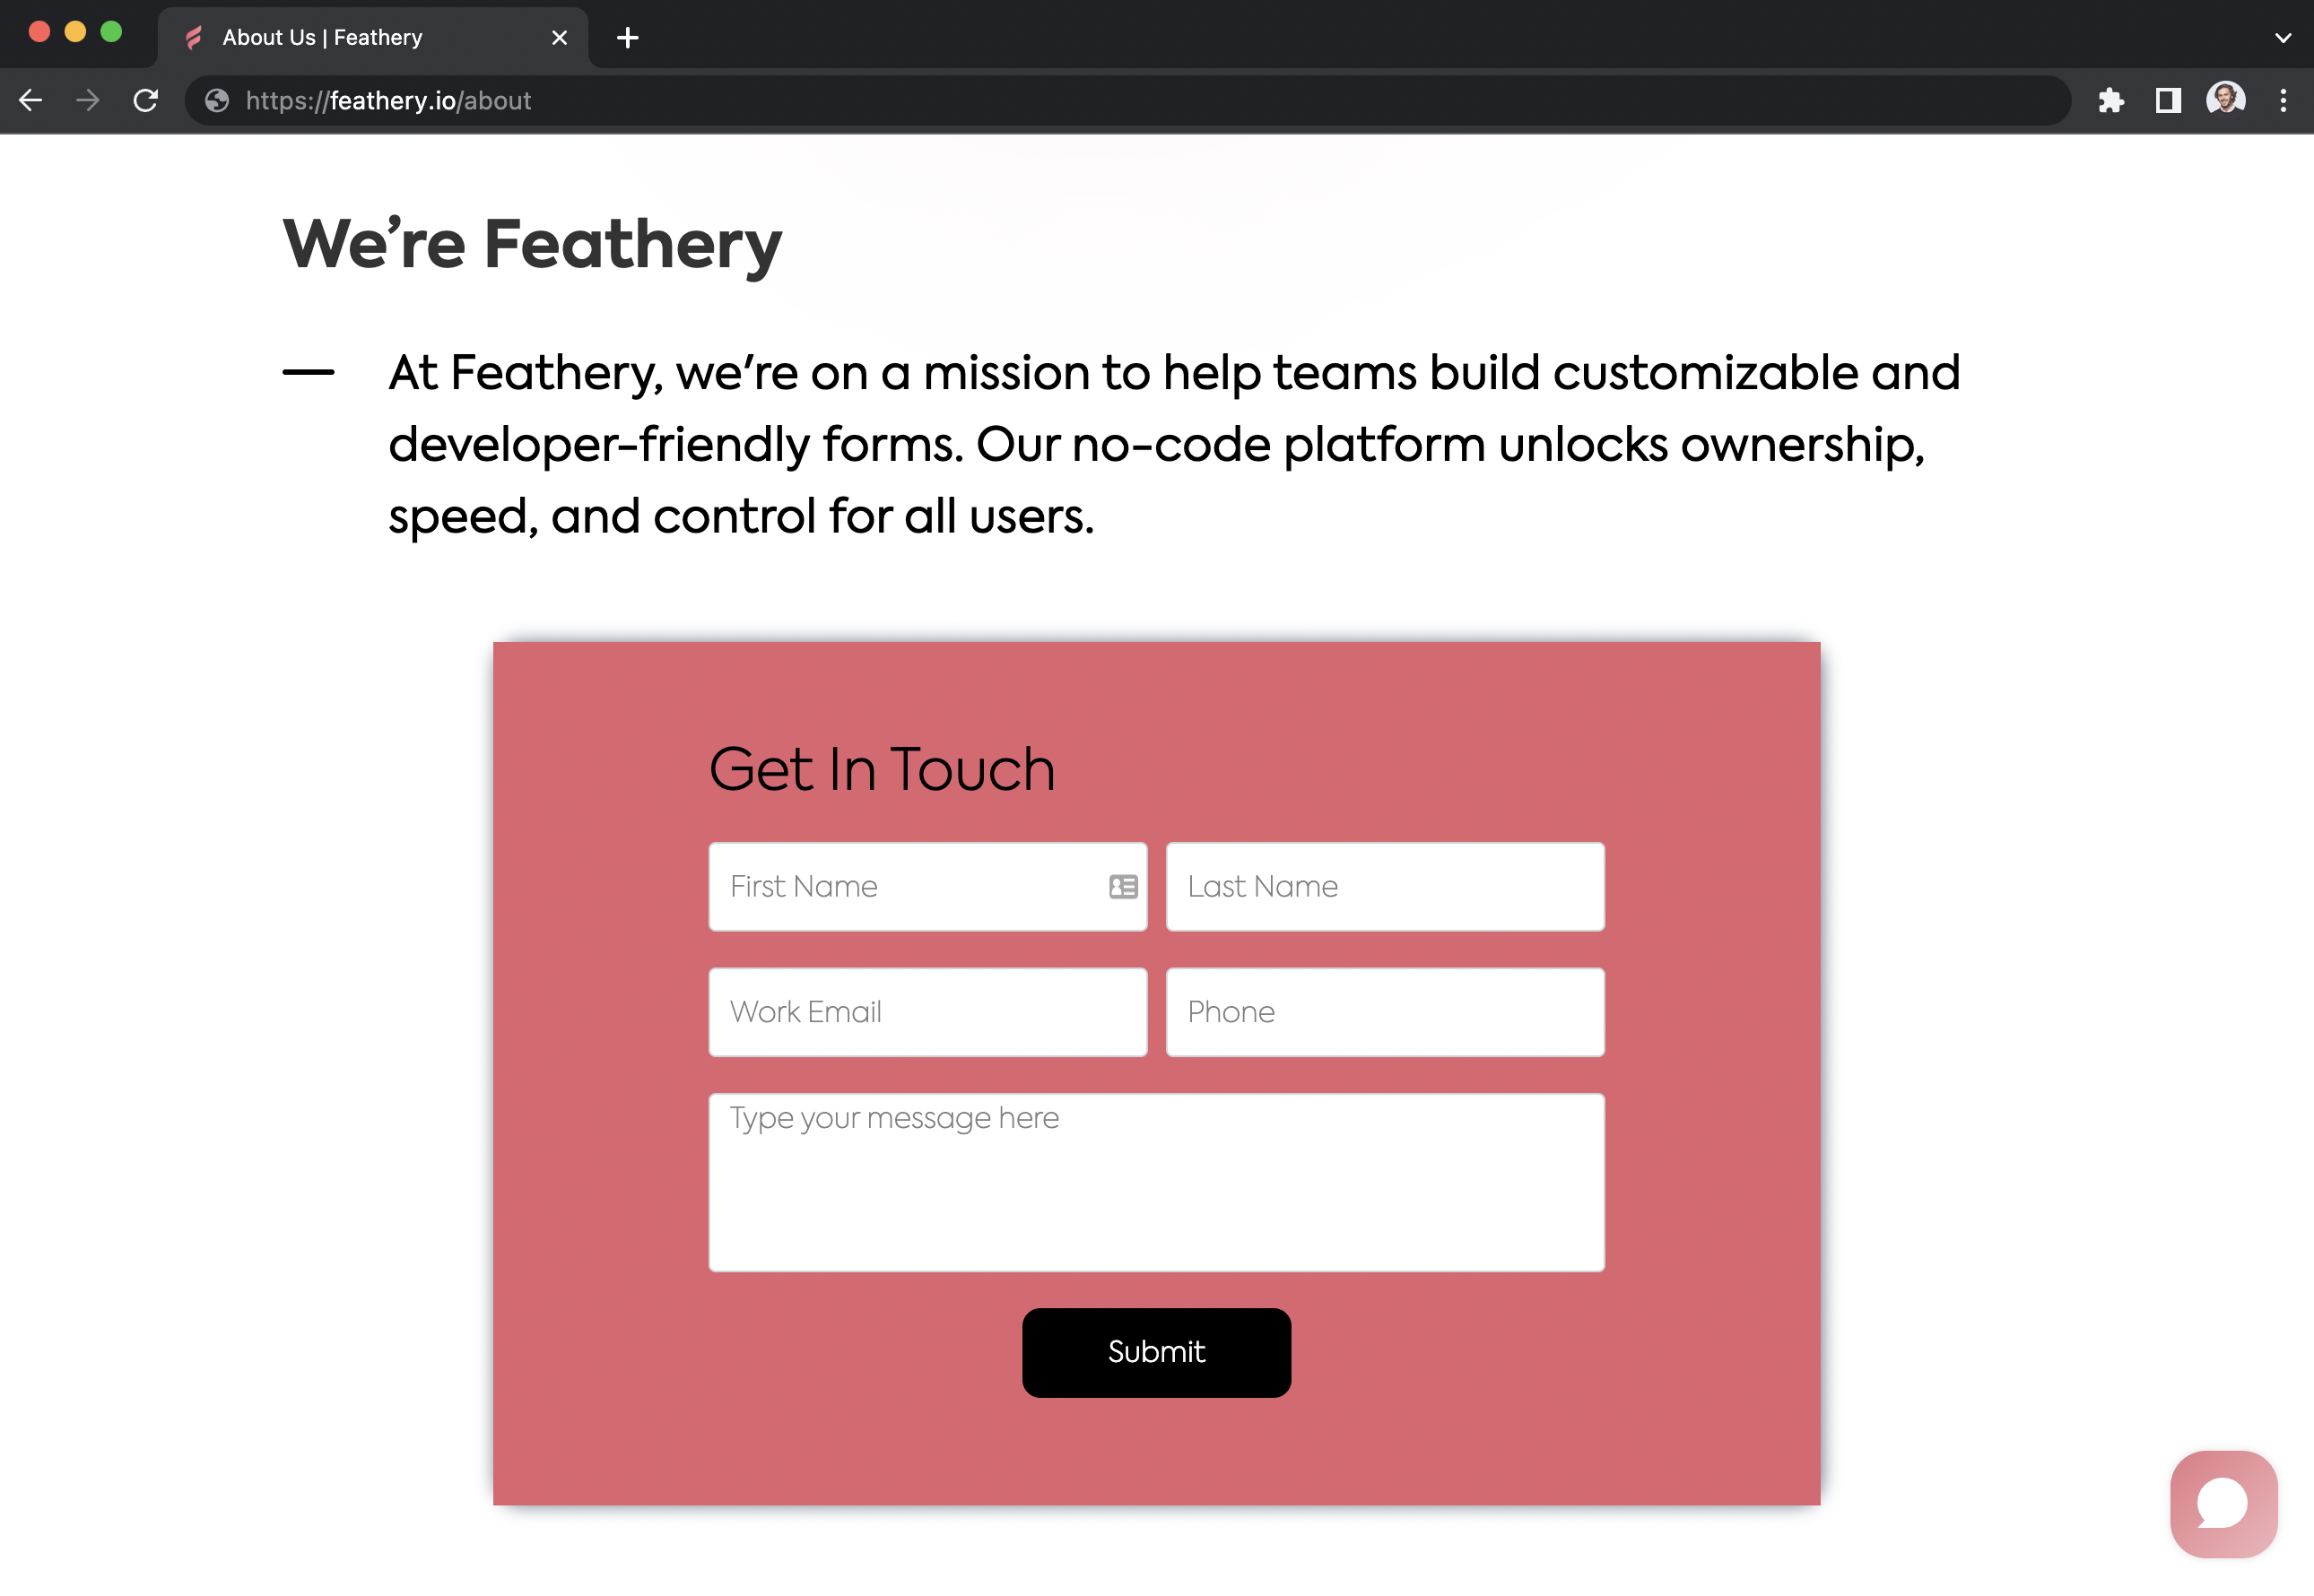
If your form isn’t displaying, open up the embed element’s code editor and double-check that the entire code snippet was pasted.
If you need help using Webflow, you can search the official Webflow documentation.
Do more with Feathery and Webflow
Like Webflow, Feathery is built with web designers and developers in mind. Feathery offers a fully flexible 2D visual editor with drag-and-drop controls for creating custom layouts and content.
Webflow users leverage Feathery for:
- Building registration forms and demo request forms that perfectly match their brand style
- Designing stunning waitlist, contact, lead capture, and application forms from scratch
- Providing customers with dynamic forms that auto-populate form fields based on their input
- Easily integrating forms with third-party tools, like HubSpot and Mailchimp
Feathery also supports setting up your own design system as an easy-to-edit theme directly in the platform. This empowers you to create forms that conform to brand guidelines seamlessly.
Common issues and troubleshooting embedded forms
Embedding a form into your Webflow site is usually a smooth process. However, if you encounter any issues, there are several steps you can take to troubleshoot:
- Code embedding: Ensure that the code snippet was properly pasted into the code editor. Any missing or extra characters could prevent the form from displaying correctly.
- SDK key: Check that you've used the correct SDK key. Feathery provides both a live SDK key and a test key. The live SDK key allows you to view your embedded form as a finished product, while the test key enables preview mode, offering unrestricted navigation of your form.
- Form publishing: Make sure your form is published in Feathery. Unpublished forms won't display on your site.
If you need further help, reach out to Feathery’s Slack Community.
Feathery's advanced features supplement Webflow's capabilities, enabling you to design and implement forms that not only look great but also function smoothly.
Integrating Feathery and Webflow ensures you can maintain a consistent design language across your site, enhancing the overall user experience.
Get started with Webflow forms
Webflow has revolutionized the website creation process with its no/low-code approach, making it a favorite among web designers and non-designers alike. However, for those seeking advanced form features, Feathery provides the perfect solution.
With Feathery, embedding a form in a Webflow site becomes a simple process, enabling you to create custom, interactive forms that capture valuable user data, drive conversions, and elevate your brand.
Are you ready to take your Webflow site to the next level? Get started with a free Feathery account.
FAQs
.svg)
Webflow is a cloud-based web design tool that allows users to design, build, and launch responsive websites visually, without needing to write code. It's a popular tool among designers and developers due to its ease of use and versatility.
Forms are critical to any website as they allow you to collect user data, engage with your audience, and drive conversions. They can be used for various purposes, such as contact forms, registration forms, survey forms, and more.
Yes, Webflow has built-in tools that allow you to create forms directly within the platform. You can add form blocks, input fields, and customize the appearance of your forms.
You can embed a form in Webflow by inserting the HTML code provided by your form builder into an "Embed" element within your Webflow site. It's a simple process that involves copying and pasting the code into the appropriate section of your site.
Yes, Webflow supports the use of third-party form builders. You can create a form using a tool like Typeform, Jotform, or Feathery, and then embed the form into your Webflow site. Some marketing platforms, such MailChimp, also offer form-building and form-styling features.
Using a form builder gives you more control over the design and form behaviors, such as form element settings and form notification settings.
When designing a form, it's important to consider factors such as the user experience and the form's purpose. Other considerations include the type of information you're collecting and how the form's design aligns with your overall brand aesthetic.
You must also decide in the design phase what kinds of form inputs you need. You can also brief your copywriter to create a convincing call to action (CTA) and a friendly success message.
Webflow does not natively support advanced form features like conditional logic. However, third-party form builders that offer these features can be integrated with Webflow using a custom code snippet.
You can learn more about the platform by visiting Webflow University and taking some design tutorials. It's a valuable resource for Webflow designers, whether you're a complete beginner or an advanced user.
You'll also learn how to tweak your Project Settings and set up a custom domain for your website.

